A artificial hedge is the perfect way to quickly and easily create a green look. This step-by-step guide explains how to securely and neatly install your artificial hedge, what materials you'll need, and which method is best suited to your specific surface.
What do you need?
- An artificial hedge
- Tyraps, tying wire or a staple gun
- Screws or plugs for walls
- Scissors or cutting pliers
- Optional: Slats or Easter panel as frame, mounting kit

What surface do you have?
The way you attach an artificial hedge depends entirely on what you want to place it against.
Wire mesh panel or fence
Attach the artificial hedge with a staple gun or screws and washers. Work from top to bottom for a smooth finish without wrinkles.
Balcony railing
Use flexible wire or cable ties. Distribute them evenly to ensure proper weight support.
Stone or concrete wall
First, assemble a wooden slatted frame or mesh panel with plugs and screws. Then secure the artificial hedge with cable ties. For small or lightweight hedges on a smooth wall, you can also use mounting adhesive, but only if the wall is clean and dry.
Preparation: measuring and customizing
Before you begin installation, carefully measure the width and height of the area where the artificial hedge will be installed. Most artificial hedges consist of panels or rolls that simply click together.
Lay them on the ground, arrange them in the correct order, and trim them to size if necessary. Use scissors or wire cutters, making sure you only cut the trellis, not the leaves.
How to install the artificial hedge
Always start in the top left corner and work in horizontal strips. Secure every 30 to 40 centimeters with cable ties, wire, or staples, depending on your surface. Pull them firmly, but not so tight that the material warps.
Check every now and then that everything is straight. For larger areas, it's helpful to have two people. One person holds the hedge in place, the other secures it. If necessary, use a guideline or spirit level to prevent crookedness.
Once the hedge is fully hung, neatly trim any protruding cable ties or wires. Check everything to make sure it's securely fastened and there are no open areas visible.
Finish neatly
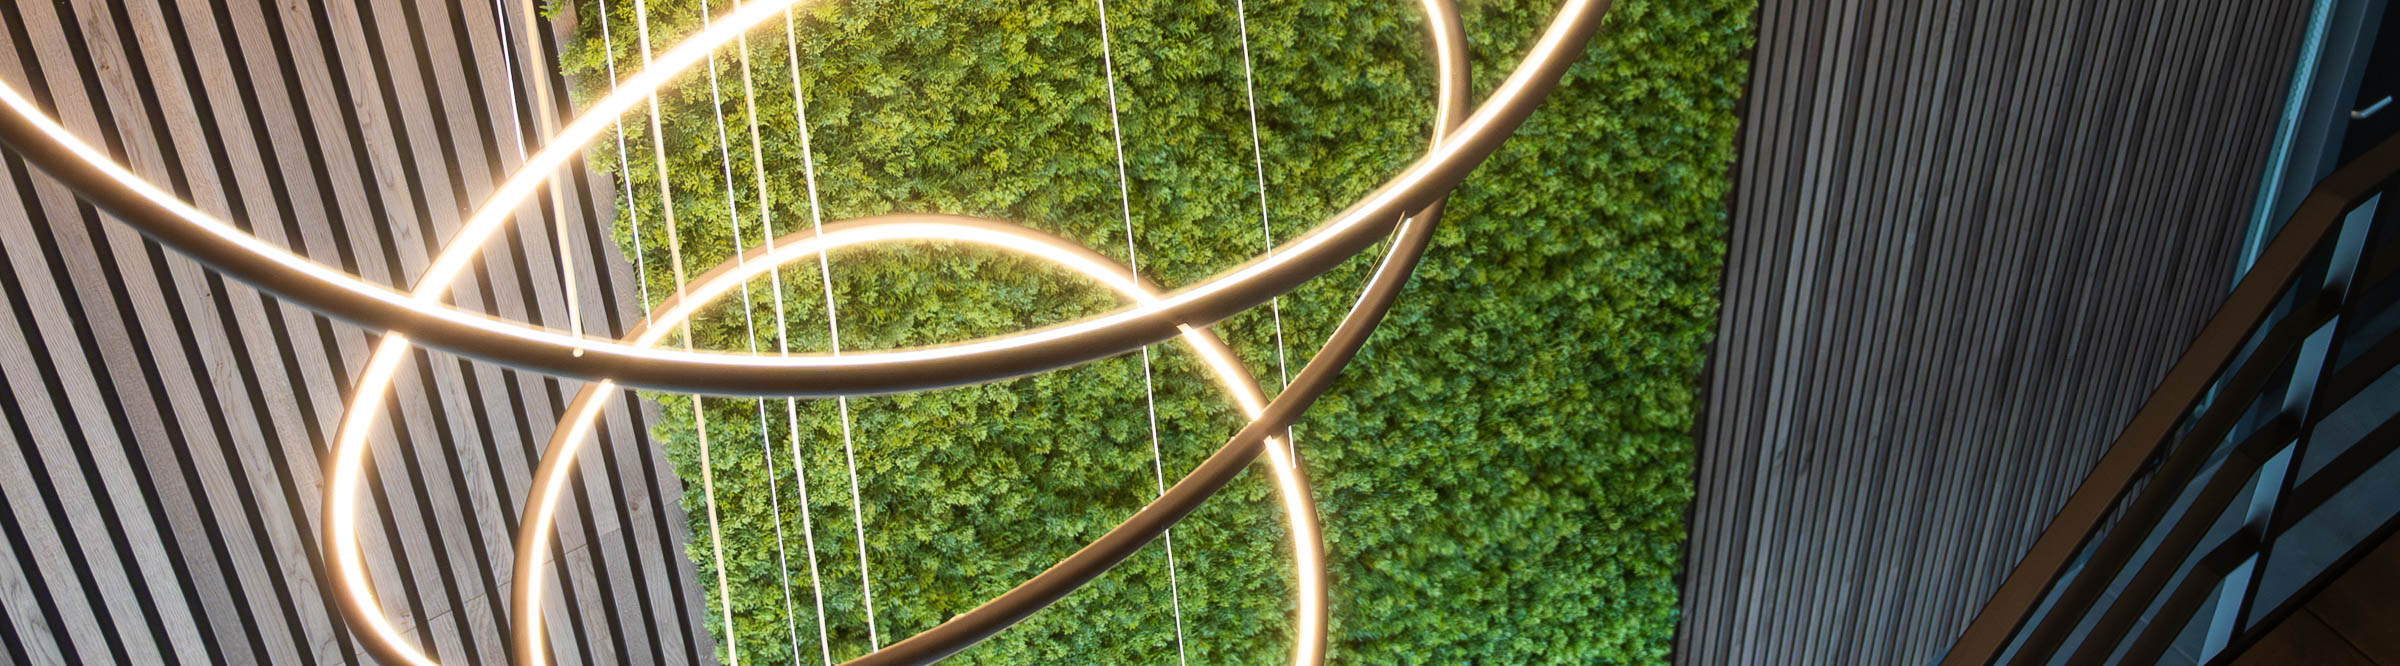
An artificial hedge is already a great addition, but a good finish really makes a difference. Think of a slat along the top, integrated lighting, or even a striking text sign. This creates a professional look, especially at events or in the hospitality industry.
Want a perfectly neat look? Then you can also finish the sides and bottom with wood or aluminum profiles. For a natural look, you can add real plants or decorative elements around the hedge. And if the hedge is in view of guests or customers, then it's worth the effort to work neatly, as it completes the overall look.
Want to get started with your artificial hedge yourself?
With this step-by-step plan, you can get started right away. Our artificial hedges are lightweight, flexible, and easy to cut to size. Still have questions about the substrate or the correct mounting method? Feel free to contact us, preferably with a photo. We're happy to help.


